
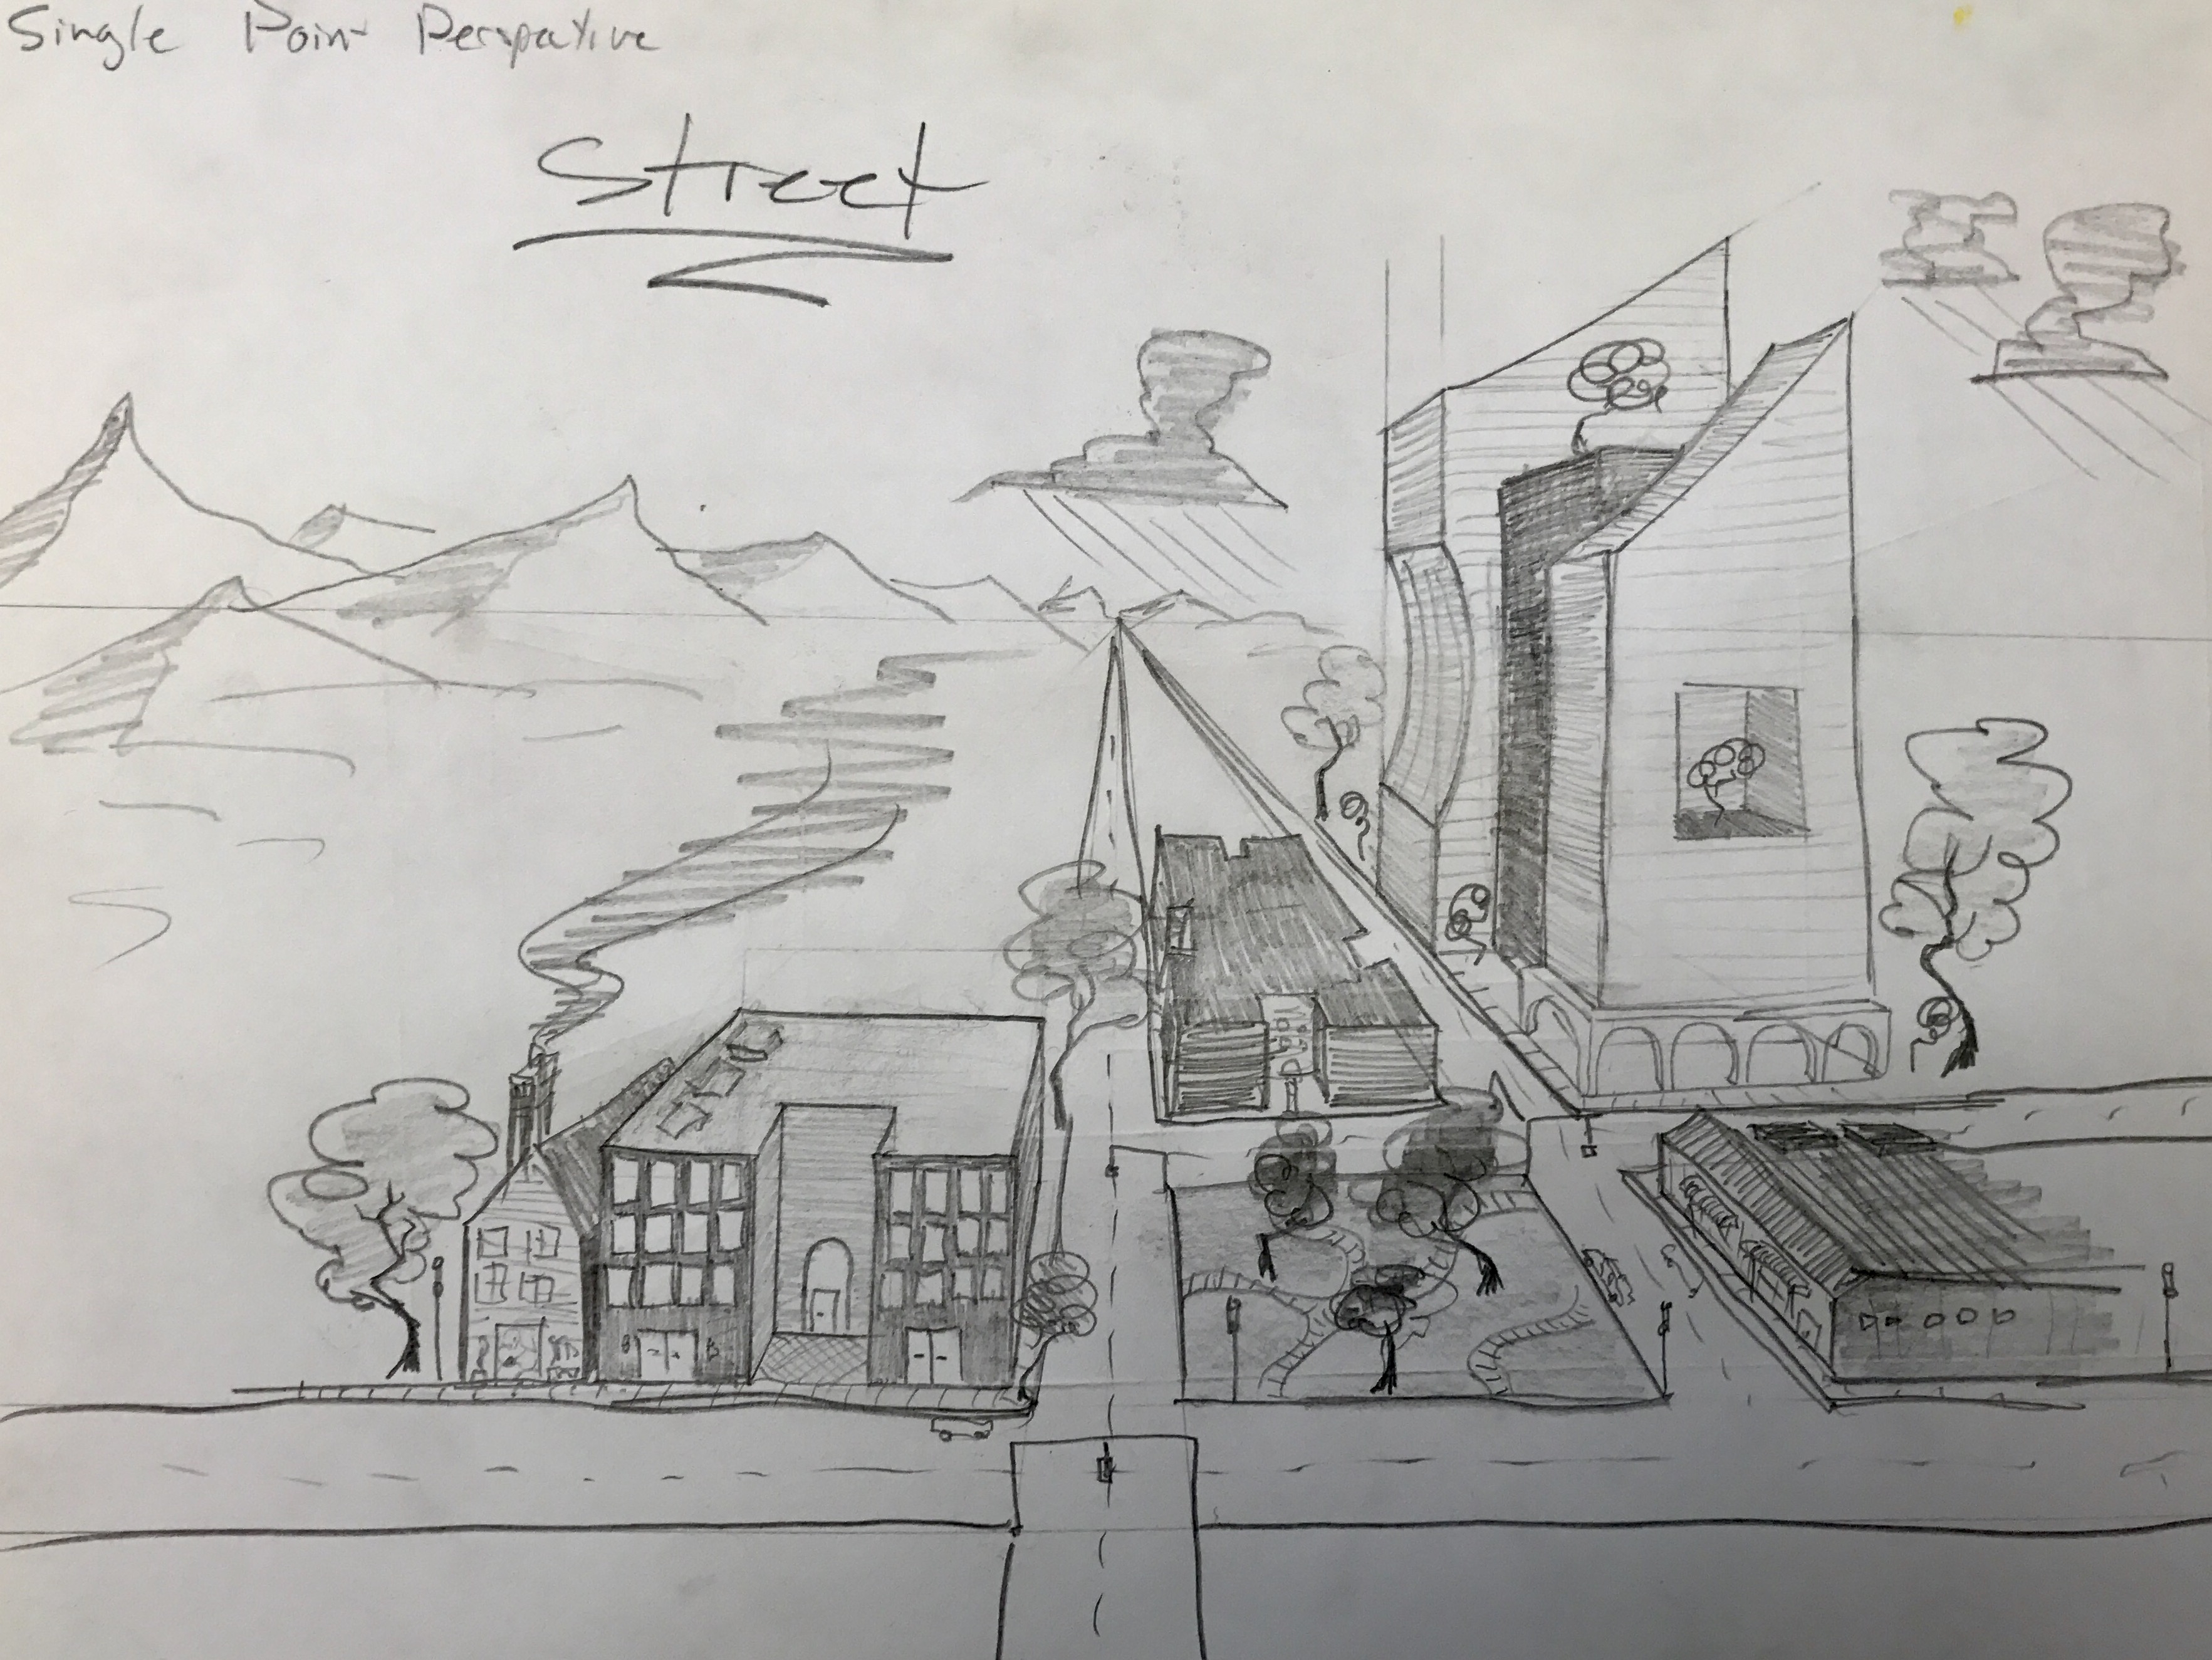
1) Mark-making
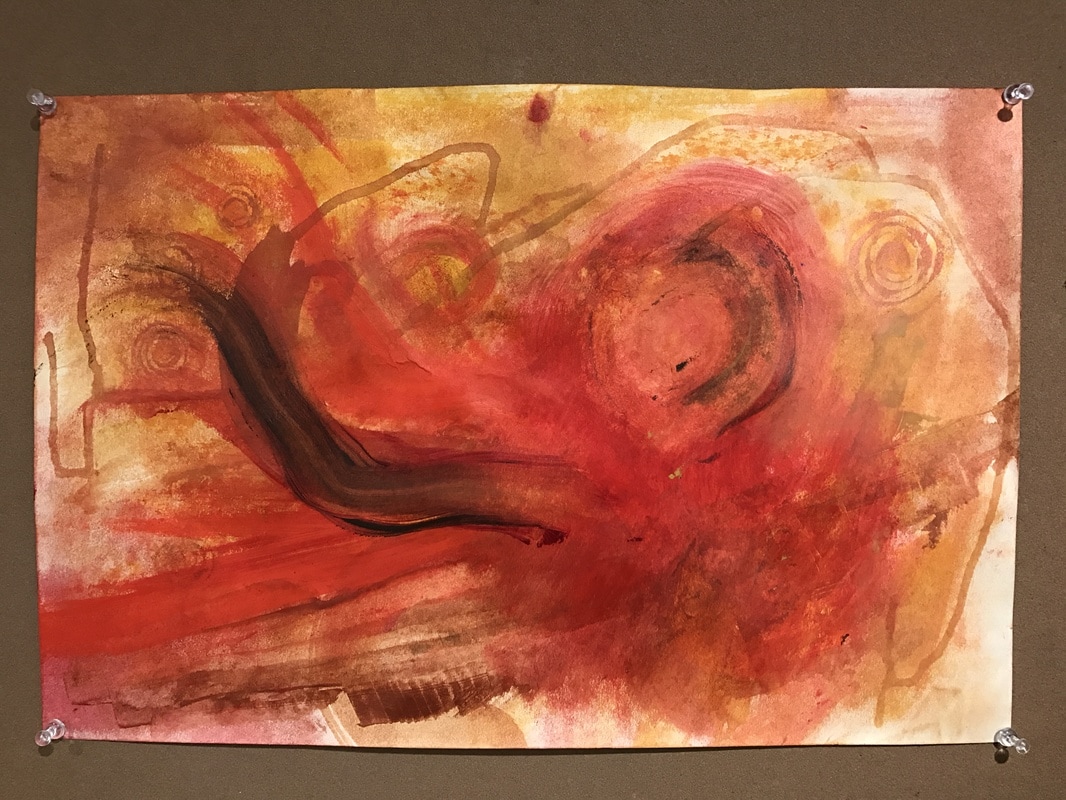
In this exercise, I simply wanted to let myself be free with my marks. I think I was successful in not following any specific form and simply letting my brush go where it went. For contrast, I made 2 dark slashes across the light red background. Furthermore, for some detail I added several spirals throughout the image. I also used techniques such as blowing on water drops to crease interesting patterns.
2) Contour Drawing
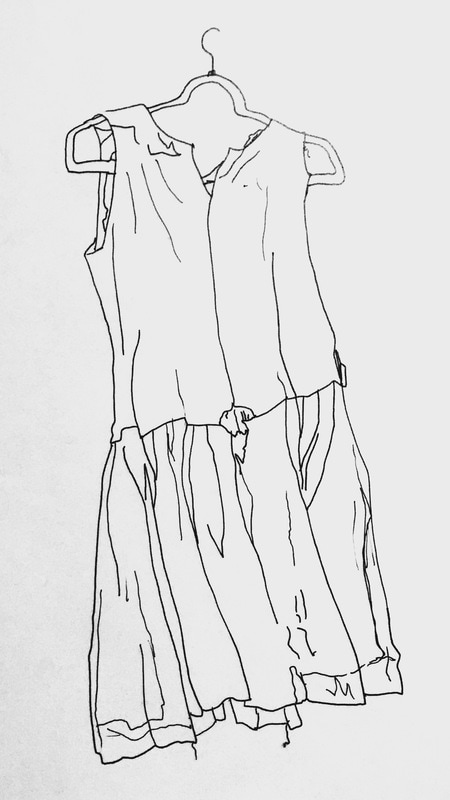
This piece is simply a contour drawing of a hanging dress. I think I captured the dress quite successfully and I am happy with the over-all outcome. I think I managed to get the folds of fabric right and the overall form.
2.5) Contour drawing + Mark-Making
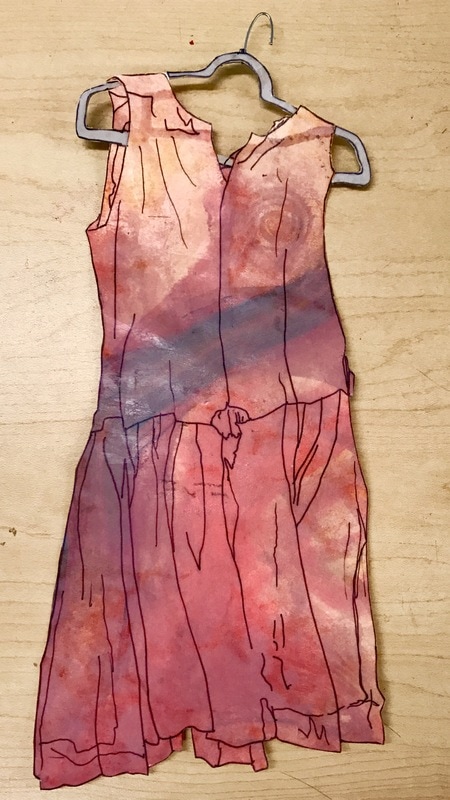
In this piece, which was not assigned, I decided to take a risk by combining my pieces 1 and two together to make something that I thought would be interesting. Since my contour drawing of the dress was on translucent papar, I thought it would look interesting to put the mark making piece behind it to give the dress colour. I cur around both, glued them together and used brown paper and wire for the coat hanger. I think this was very successful because not only do the two pieces fit together nicely, but the overall look is nice. However, there was some difficulty gluing the dress to the mark making piece and some air bubbles were left between the two which muted the colour.
3) Bone Drawing
This exercise was very fun and quite difficult. I mainly used black and white pencils for my second and fourth drawing, which I think were my most successful. I realized that blending didn’t look good, in my first drawing. I also realized that more complicated bones looked better, as opposed to my third drawing. Overall I think that exercise taught me a lot about lights and darks.
4) Self Portrate

This was the hardest exercise for me. I found using 2 pencils taped together difficult and the face didn’t turn out looking the way I wanted it to. I used a blending stump to smooth it out, which may have been a mistake. However, I do think my shadows look good and this piece taught me a lot about facial proportions.
5) Room drawing
This piece was sun to make because I got to sneak into the band room and sketch the scene. I used pencil, and later black pen and marker. It was difficult to sketch the room with any accuracy but the experience was enjoyable. Once I got my sketch, I returned to the art room and outlined my piece in dark ink. Then I colored in just the walls in bright color. I colored all the walls perpendicular (facing me) me bright orange and all those parallel to me (facing left or right) a more subdued blue. This was meant to give the room some shadowlike colors but not enough that it looked realistic.
6) Experminting with Texture
This piece was my favorite to make because it was much more expressive than the others. I used many mediums and techniques. For the dark side, I glued paper bits to the cardboard. Then, I dripped red ink over it, washed it with blue paint (which didn’t do much), sprayed it with black spray paint, dripped more red ink over it, and drew some white swirls for contrast. For the light side, I gave it a background coat of green, yellow and orange paint, added some observational and abstract details and then wrote a thought in a flowing pattern meant to resemble a breeze. Then I glued both sides together to make a hollow cylinder with the dark side on the outside and the light side on the inside. This is meant to represent how people often hide their genuine, soft interiors behind false, strong, serious exteriors.

 RSS Feed
